Having real-time, engaging and intelligent conversations with customers is the life blood of any business. An open channel of conversation can keep your customers engaged and these are more likely to be loyal customers.
However, it is a hard reality that as a business you cannot be available everywhere and all the time where likely your customers would be. To help you overcome this pain point and start intelligent conversations, Asista brings to you Conversational Chatbots!
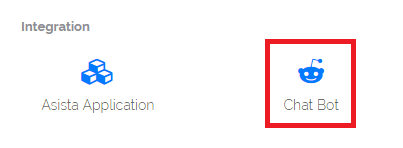
We are happy to inform the release of our Asista Answer Bot, and you can configure it under Administrator Settings > Integration Section > Chat Bot:
How to Configure Your Answer Bot?
Step1: Create Bot
You can create a custom Answer Bot by clicking the Create Bot button.

Step 2: Customize the Bot
You can completely customize your Answer Bot by giving it a custom name, a title and sub-title, configure welcome messages and give custom button color and header gradient.
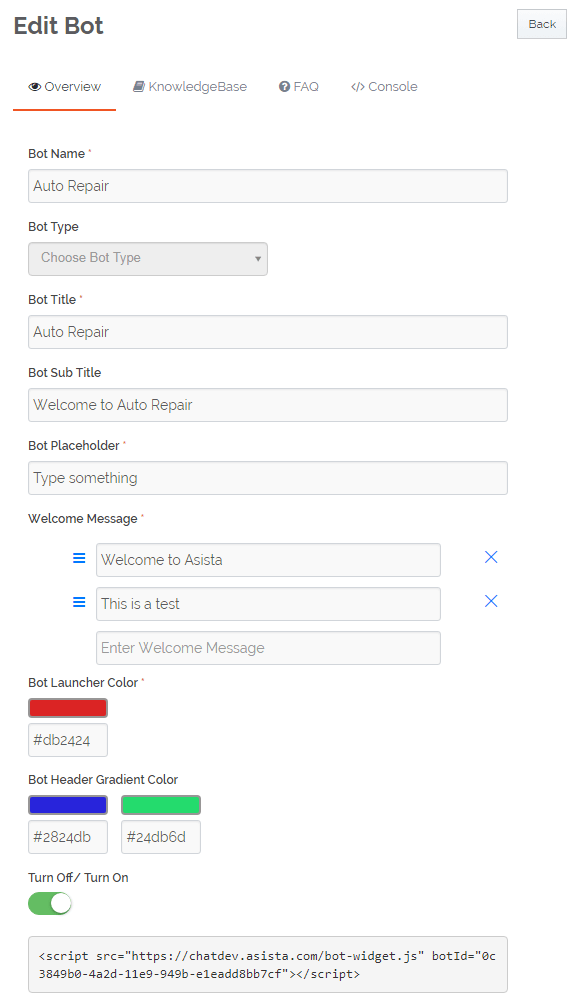
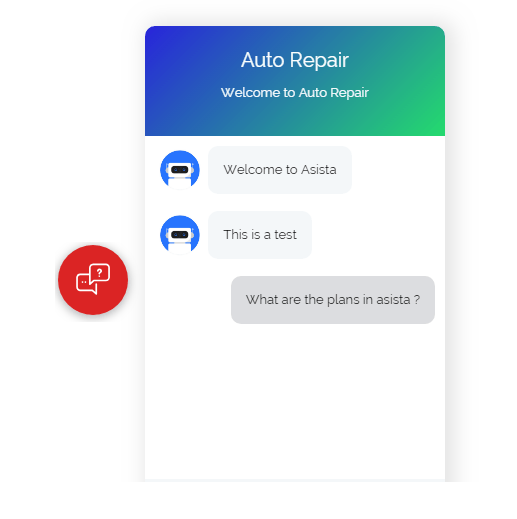
While you configure your Answer Bot you can view a live simulation of how it will look on the right hand side of the page.
Step 3: Train the Bot
You can train your Answer Bot using the
Knowledgebase and FAQ Tabs.
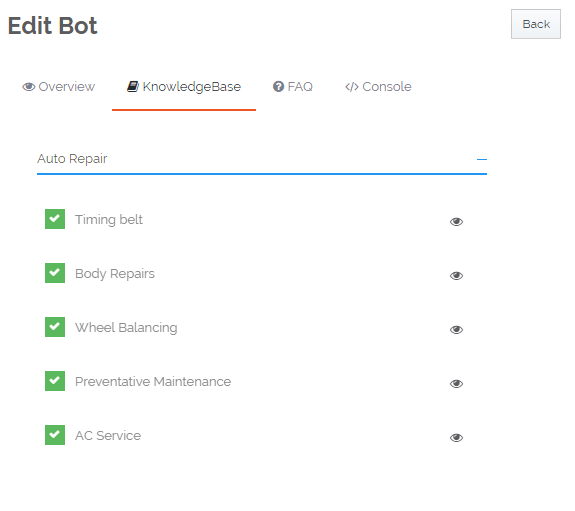
Knowledgebase Tab: All existing
Knowledgebase articles in your Asista application will be listed under this
section, and you can train your Answer Bot by simply clicking the checkbox next
to the KB articles that you want it to be trained in.
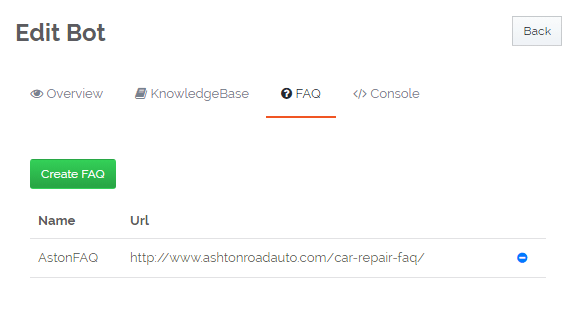
FAQ Tab: Under the FAQ tab you can submit a valid FAQ page (URL) that is already indexed by Google. This URL will be used to train your Answer Bot to resolve queries of your customers.
Step 4: Test your Bot
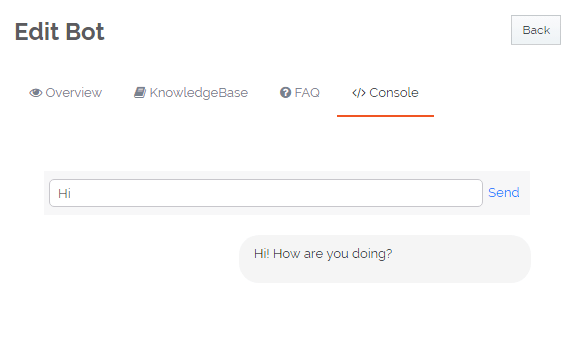
Using the Console Tab, you can simulate your Answer Bot before activating it. You can check if it has been trained properly and is responding to queries in the way you would like it to.
Step 5: Activate your Bot
After saving all configurations of your Answer Bot you can Activate/Deactivate it on the Chat Bot main page (marked in red). This page also highlights the hits on your chatbot that can help you gauge its effectiveness (marked in brown).

Answer Bot in your User Support Portal
To activate a predefined chatbot to be used in you Asista user portal, simply click on the Manage User Portal Bot button (marked in blue) and click on the Turn On/Off switch. Select the bot you would like to use from the listed chatbots and click Save to complete the activation.
Step 6: Integrate the Bot into any website
Simply copy & paste the script tag from the chatbot customization page into the head tag of your website.

Conversations can be complicated! Simplify it with Asista Answer Bot and reach out to your customers when you physically can’t.
Request for a demo and start intelligent conversations today!
For any queries please feel free to Contact Us: ☎ +080 41 313329 / ✉ sales@asista.com
Team

